



One of the first business opportunities I explored when Really Good Business Ideas launched in 2024 was mobile apps.
Today, I’m even more excited about mobile app businesses than I was then. In fact, I recently updated my post guide to finding a profitable mobile app with more recent data.
Here’s why I love the mobile apps business opportunity:
App usage and new app downloads remain strong.
In-app purchase revenue is higher than ever, surpassing mobile games last year.
With AI coding, it’s never been faster, easier, or more affordable to create a mobile app.
But if you’ve never made an app with AI before, it can feel daunting to know where to start.
I thought it would be fun to have Jeff Morhous share a walkthrough of the process of making an iPhone app using AI, from the first line of code to publishing it on the App Store.
If you don’t know Jeff, he’s a senior software engineer who writes The AI-Augmented Engineer, a newsletter for people using AI to build better software. He previously wrote a guide on vibe coding best practices for Really Good Business Ideas, where he offered crucial security tips for marketers and entrepreneurs building AI-coded products.
Today, he’ll show you how to use OpenAI’s Codex to create a mobile app using a migraine tracker app he built as an example!
Over to Jeff!
Before we get started, let’s go over the tools we’ll be using.
Codex: The AI coding agent that will help us create our app.
React Native and Expo: The software frameworks we’ll ask our coding assistant to use.
Using Codex to Build With AI
OpenAI has taken a lot of swings at making an incredible vibe coding product. It’s hard to get something that’s useful for both complicated codebases and simple apps
Finally, they released Codex, a real app for Mac and Windows. I LOVE the Codex app.
It’s easy to use, but powerful. If you’ve never written any code before, you can use Codex. If you write code for a living like me, you can still use Codex. Its intuitive and thoughtful interface turns app building into a conversation.
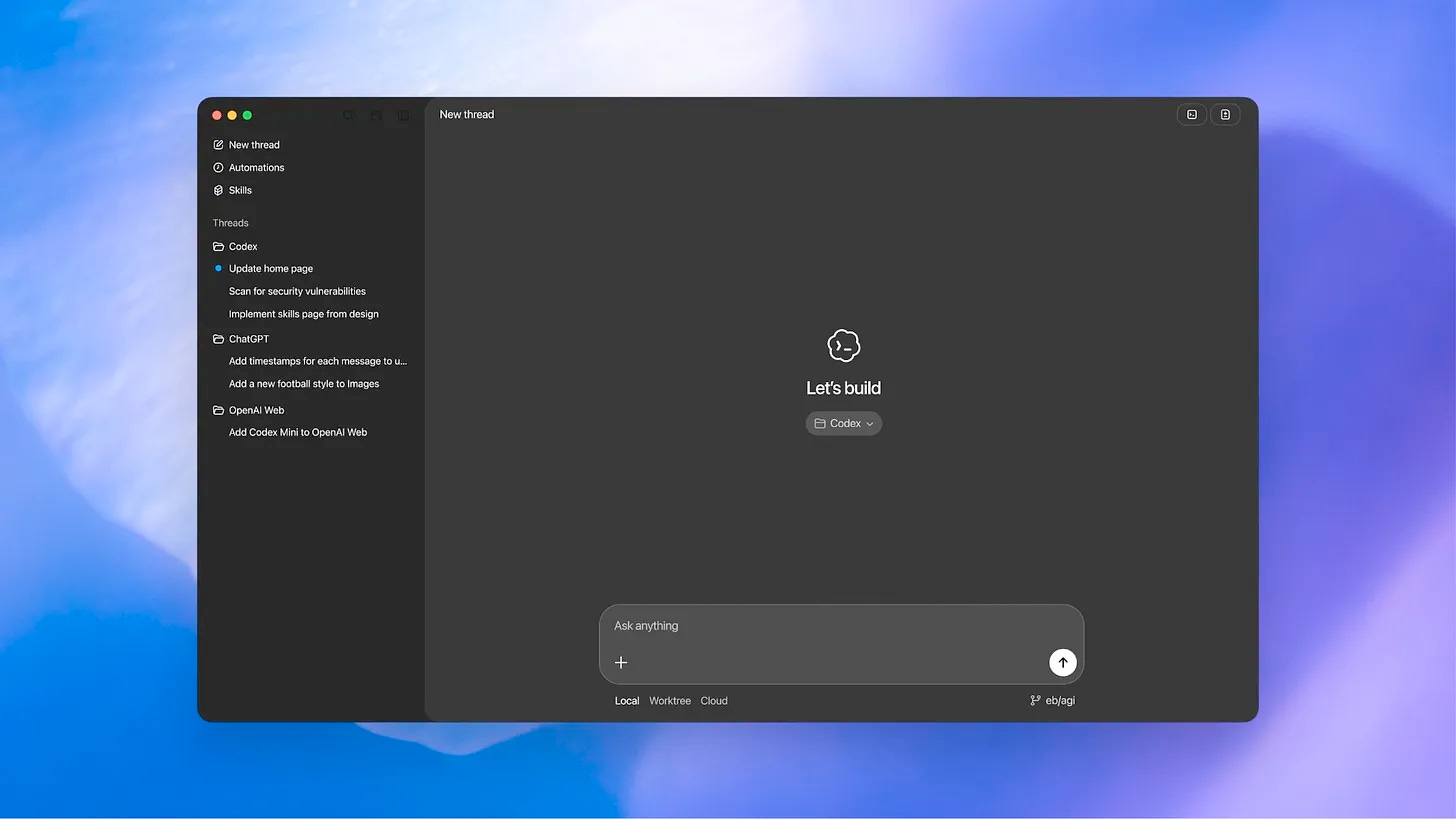
Codex is optimized for conversations with agents, not for code files. This makes it really approachable, even for non-technical folks.
If you want to follow along, download Codex from the OpenAI website. The usage limits are generous, even on the free plan.
Using React Native and Expo to Build an iPhone App
There are two great software frameworks we’re going to use to build our mobile app: React Native and Expo. These two software frameworks provide tons of prebuilt features that make building mobile apps easy. Notably:
React Native helps you build apps that work on iPhone and Android without extra hassle.
Expo helps you test it and get it on the App Store.
There’s a lot of choice in tools for building iPhone apps, but React Native and Expo are world-class. When you’re working with AI, this sort of decision is largely abstracted away from you. But specifying in your initial prompt that you want your agent to use React Native and Expo will yield more consistent results.
I’ve used these 2 tools to publish 4 iPhone apps, including this recent breathwork app.
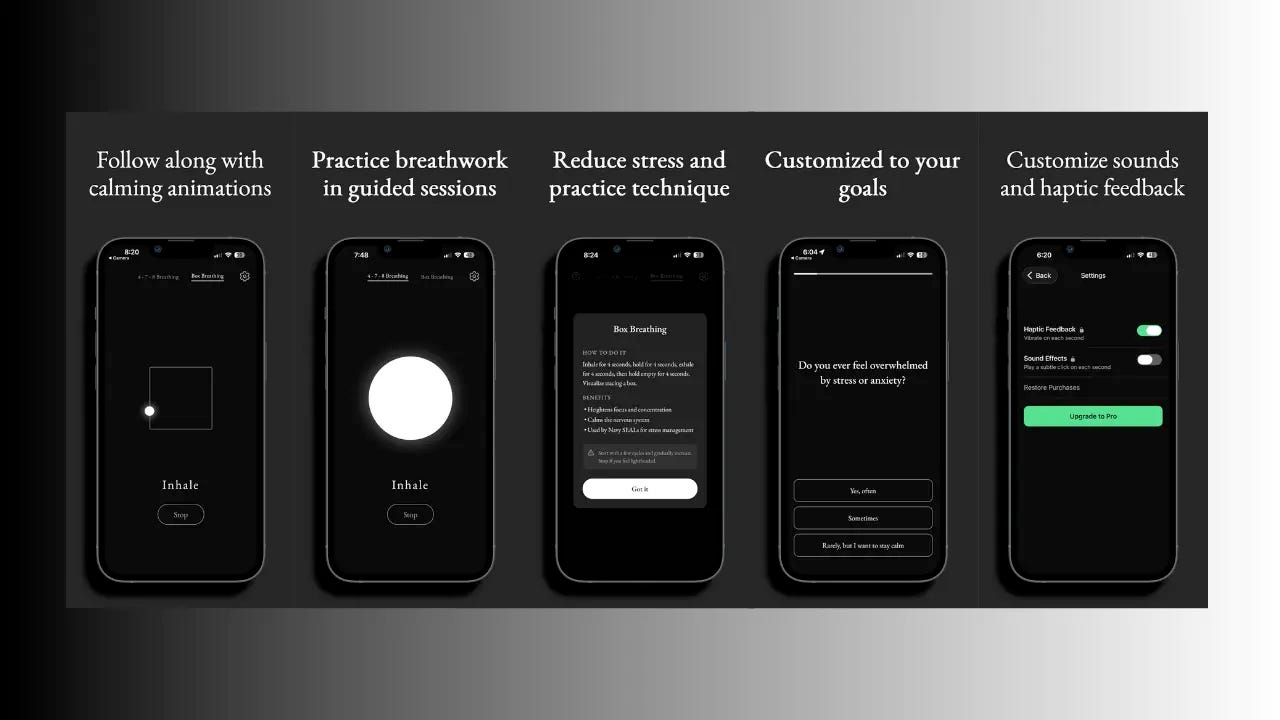
Today, I’ll show you how you can do the same thing using AI prompts.
Creating the Initial Project Plan With Codex
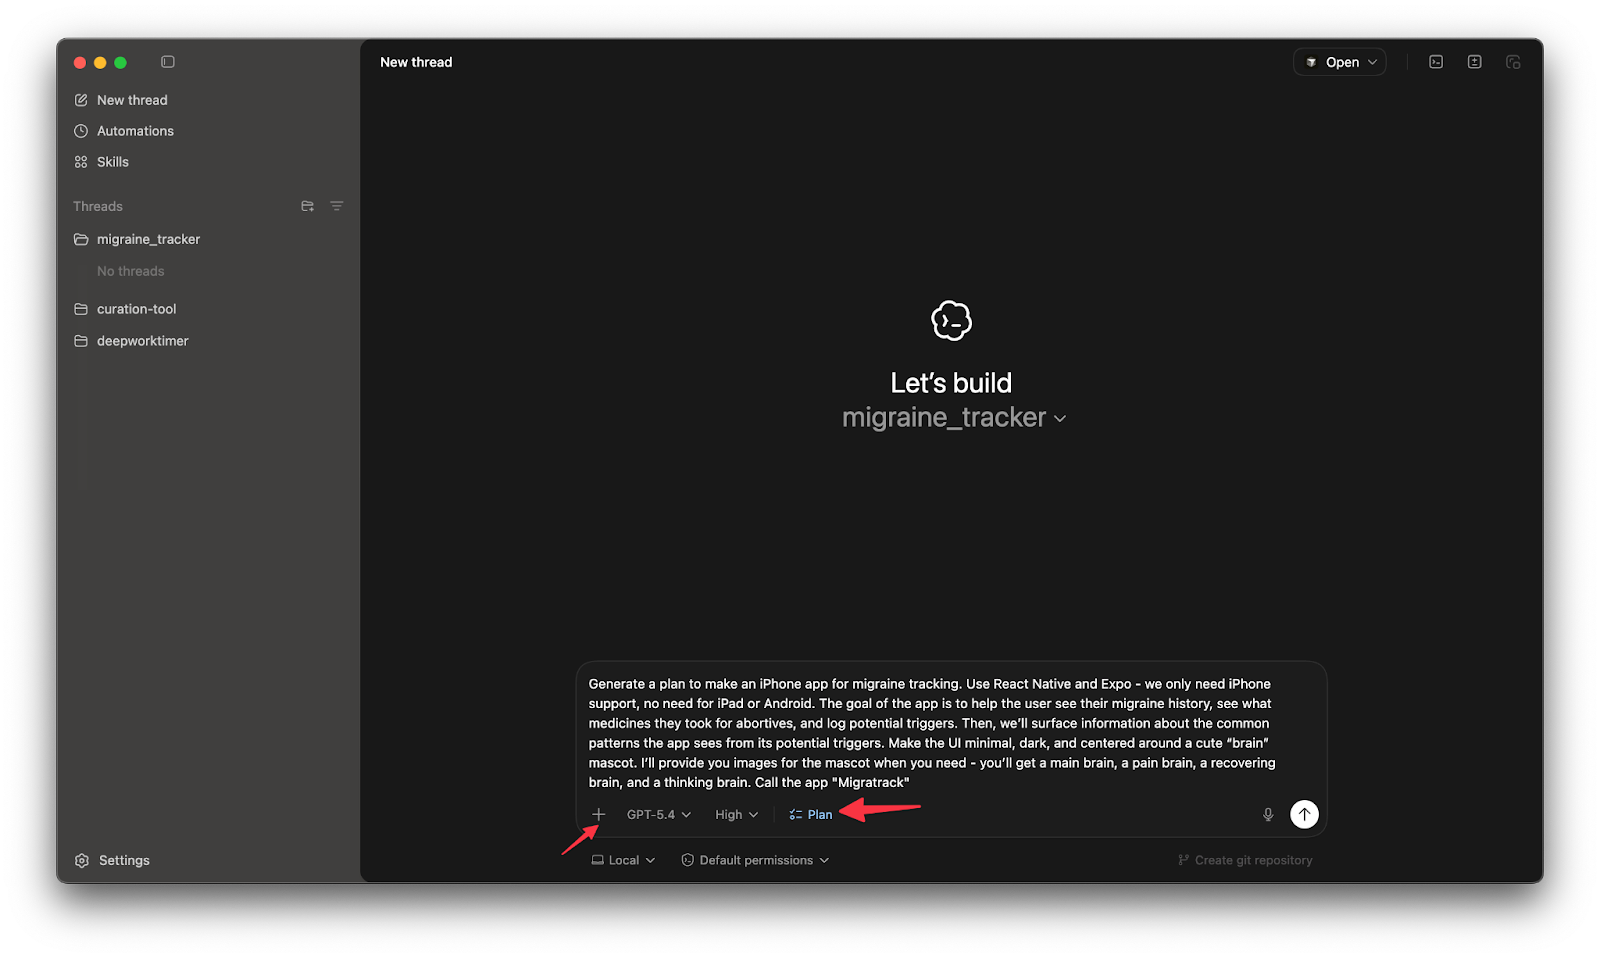
Before we do anything else, it’s important you start in “Plan Mode”, which is what the LLM (Large Language Model) uses to get a coherent step-by-step plan before writing any code. You can do this by hitting SHIFT + TAB or by clicking the plus in Codex and toggling on Plan Mode.
I also really like to use as much reasoning as possible during the planning session, so I set reasoning to “Extra High”. This will burn through your usage limits quickly, but it’s tokens well spent at this stage.
I’ve been wanting to build a minimal migraine tracking app that can surface common patterns in triggers.
Recent models like GPT-5.4 are GREAT at making an iPhone app with simple features in a single prompt. I imagine we’ll do some tweaking, but I started off with:
Generate a plan to make an iPhone app for migraine tracking. Use React Native and Expo - we only need iPhone support, no need for iPad or Android. The goal of the app is to help the user see their migraine history, see what medicines they took for abortives, and log potential triggers. Then, we’ll surface information about the common patterns the app sees from its potential triggers. Make the UI minimal, dark, and centered around a cute “brain” mascot. I’ll provide you images for the mascot when you need - you’ll get a main brain, a pain brain, a recovering brain, and a thinking brain. Call the app “Migratrack”.
Expect this step to take a while. After some initial token burning, you’ll see a prompt with questions for you to answer. Pay attention, you may have several rounds of questioning.
Implementing the Plan With Codex
When Codex is done with the plan, it will show it to you and ask if you would like it to proceed. Don’t worry about hurting its feelings. Anything you don’t love now can still be changed. If you’re pretty technical, it’s also a great time to validate some of the implementation choices.
Once it has your approval, Codex will proceed with implementing the plan. Now is a fine time to lower your reasoning level if you’re concerned about rate limits.
Now, you can start being a bit more hands-off. Codex assumes the future of building software lies in background agents and doesn’t expect much involvement from you. If the app is out of focus because you’re doing something else, you’ll get a notification when it needs something from you (like a permission request).
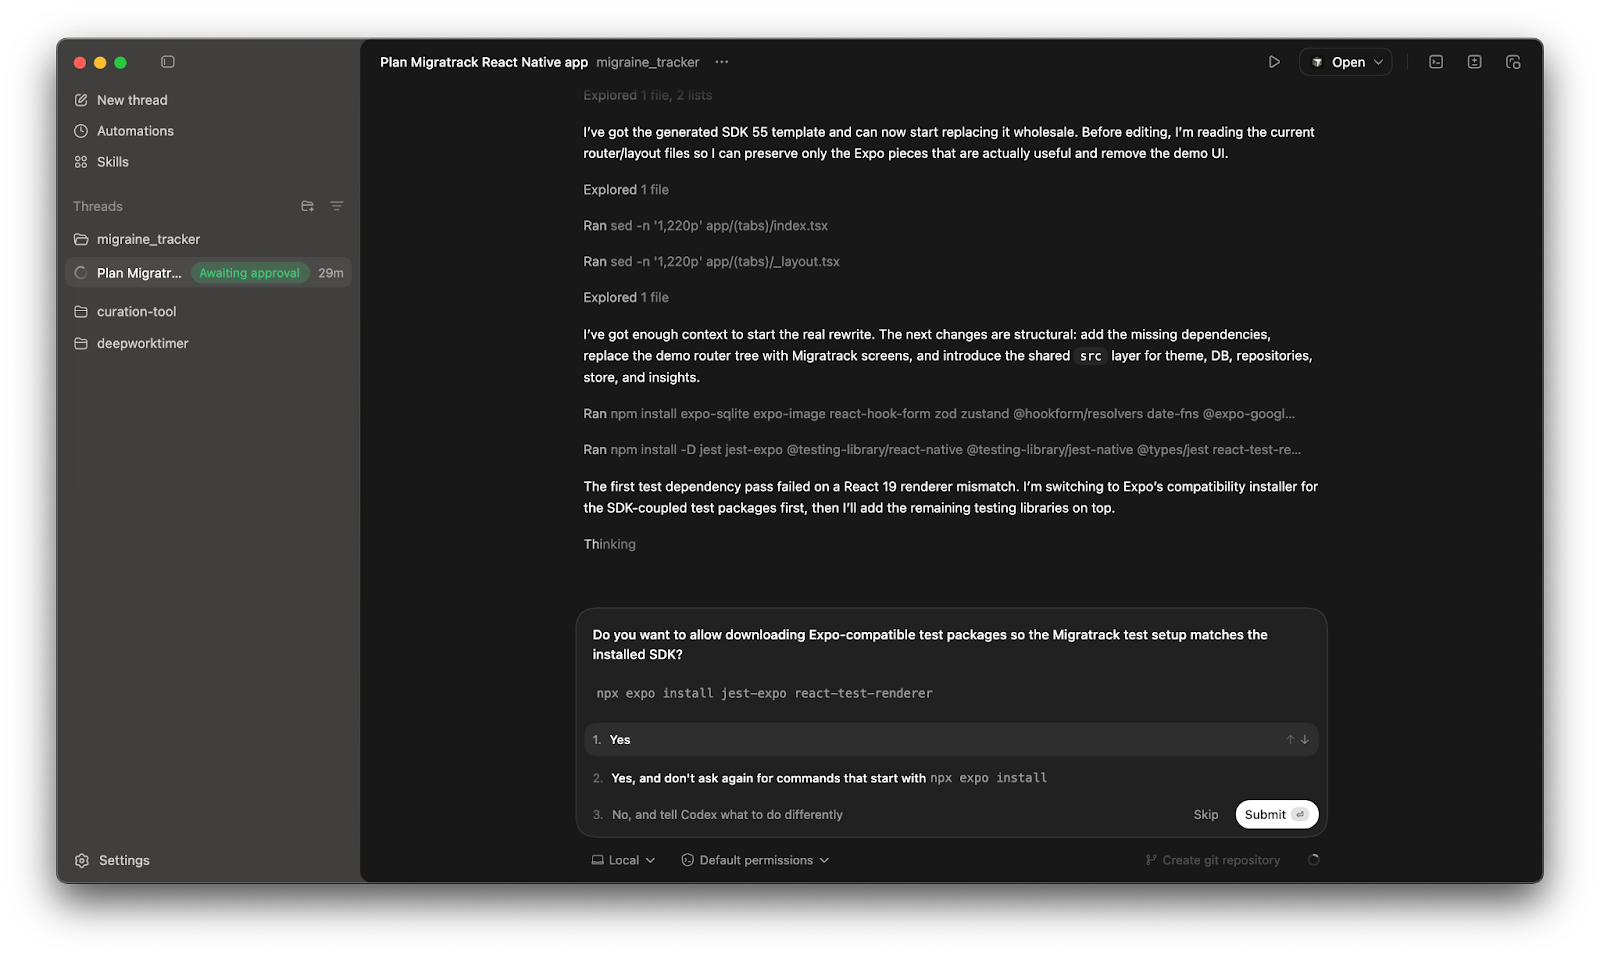
If you’re building software for your job, you should probably use the time to work with other agents on other things. Some people are using AI to work less, and that’s awesome, but be careful not to get outpaced by people using it to be more effective at their job.
Codex offers a lot of great support for working with agents in parallel, whether across multiple projects or within the same project. We won’t explore parallel agent orchestration here, because it’s hard to get right on an initial buildout. If you’re adding features, parallel agents are a great way to get an insane amount of work done really quickly.
I used this implementation time to work on my character images, which is something I’ve been experimenting with to add a bit of whimsy to my apps.
One thing that differentiates Codex models from Claude models is their ability to run uninterrupted for a long time. In my case, the agent ran for over an hour. I literally left to go buy groceries while it made the app for me.
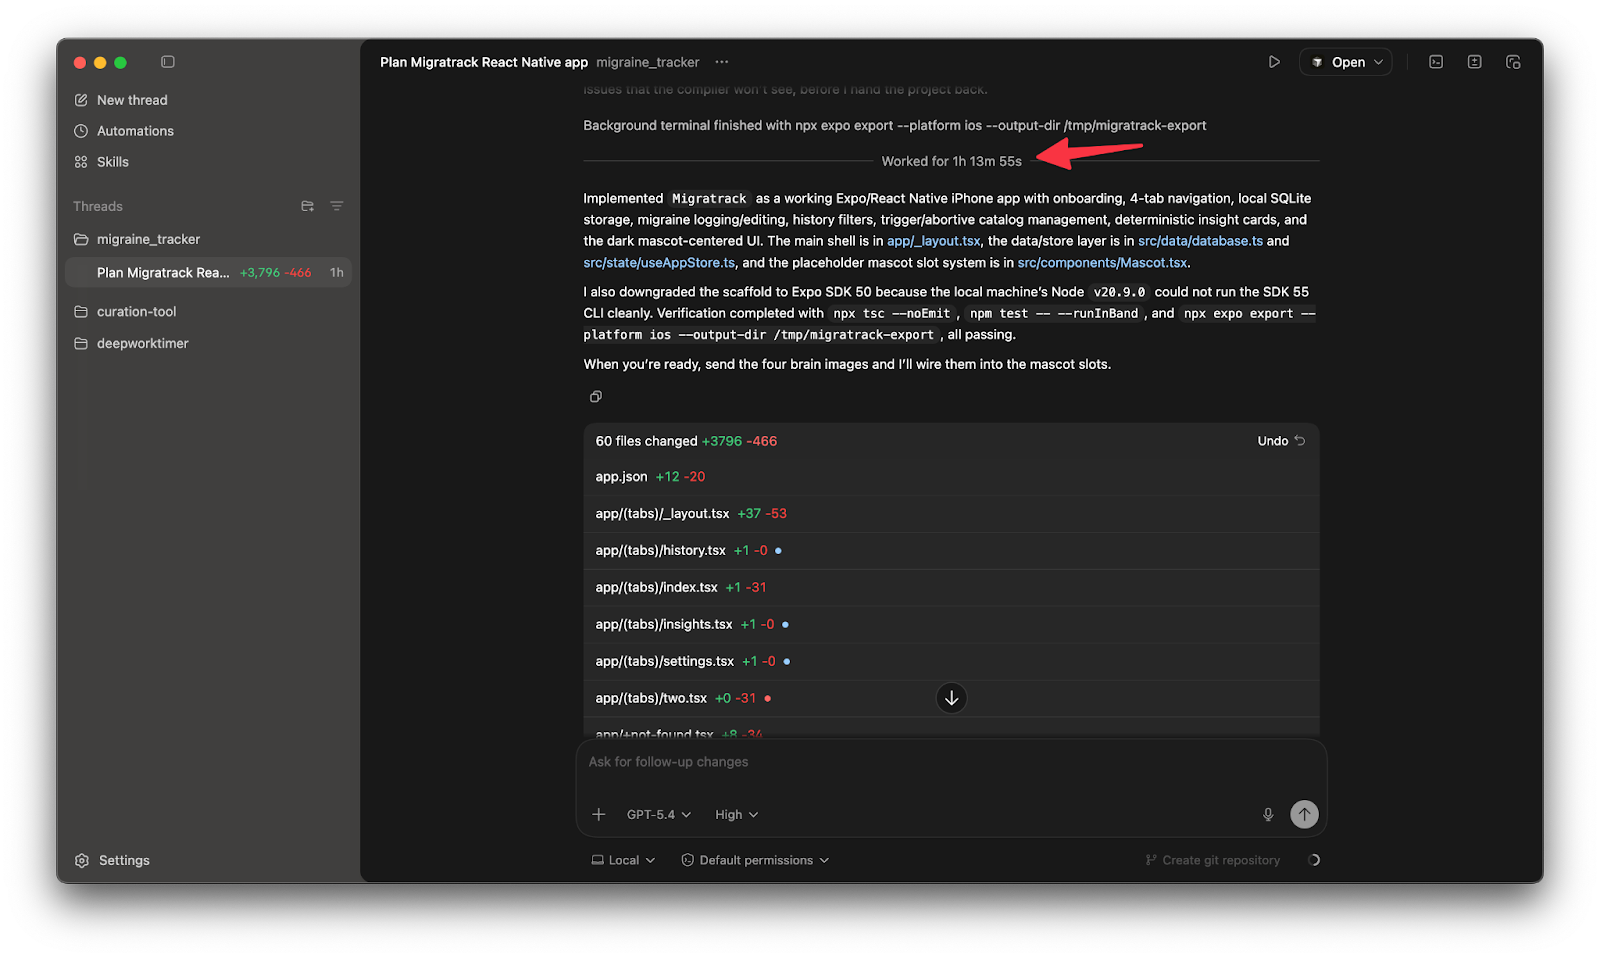
When I came back, Codex requested the images, so I uploaded the 4 brain character images to the chat.
Once the first version of your app is ready, you can ask the agent to run the app in a simulator. I suggest a prompt like this:
Run the app in an iPhone simulator using Expo.
Expo makes this really easy, so the agent will have no problem. Ordinarily, setting up your computer to run an iPhone app in a simulator requires a lot of configuration, but Expo packages this into simple commands that your agent can run on your behalf. You won’t even need to sign up for an account.
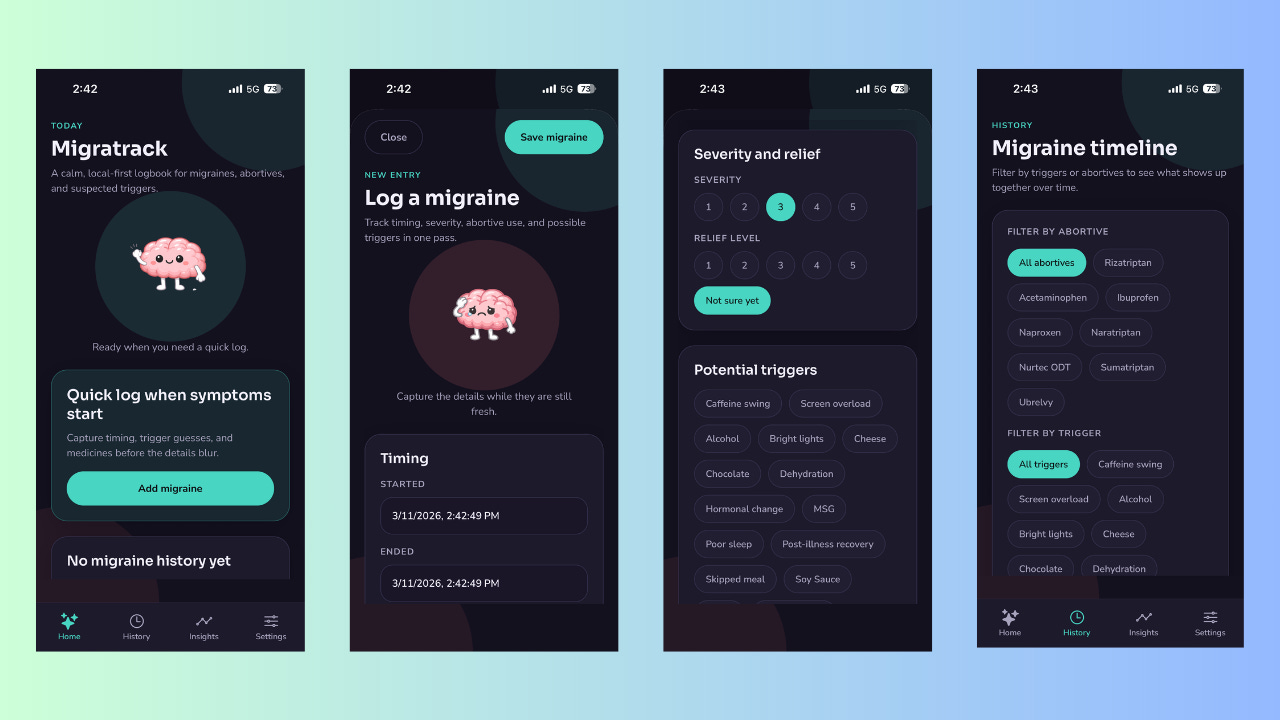
Here’s the result from my migraine tracking app!
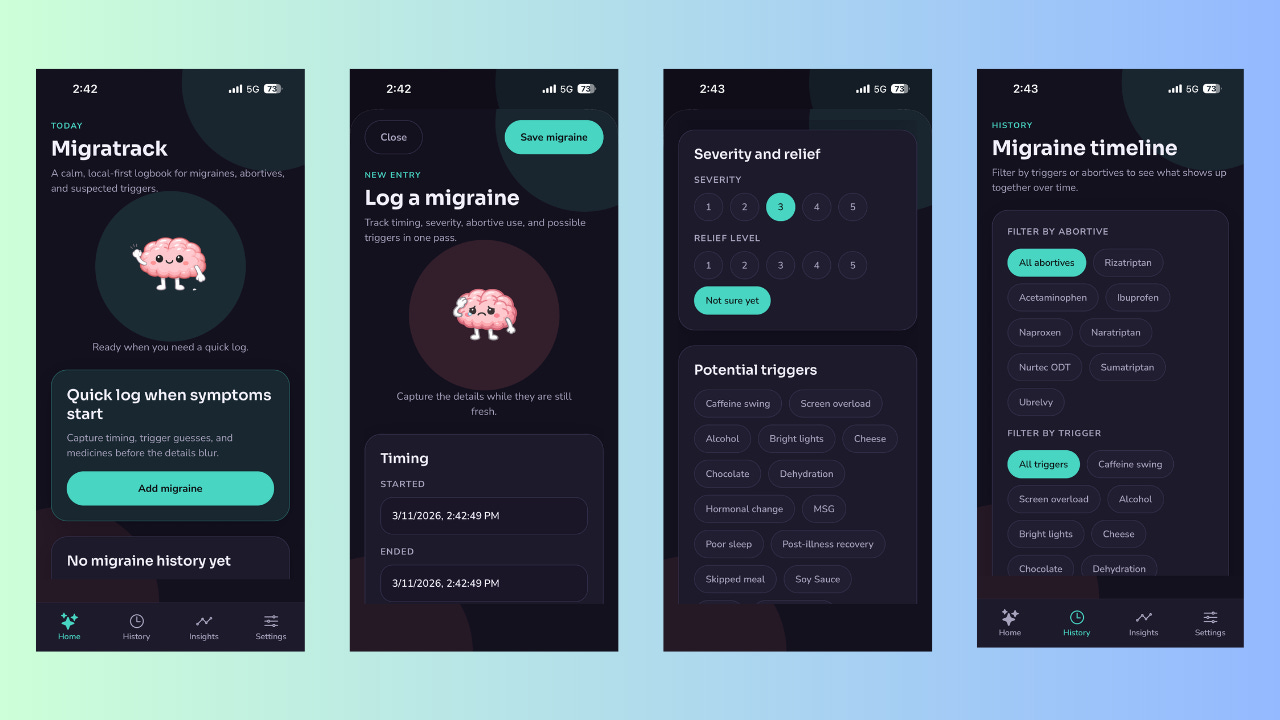
Make sure to review every page and test every feature in the simulator. If you find any bugs or need to make any changes, just ask Codex. Once you’re happy with the result, it’s time to publish to the App Store!
Publishing to the App Store
Getting an app onto the App Store is usually the most painful part of vibe coding apps. Apple restricts the App Store pretty heavily, so you can always be sure that the apps you’re downloading aren’t going to do something nefarious. To do this, they cause a ton of headaches for submissions and reviews.
I’ve made apps in less than thirty minutes and spent 5+ hours getting the submission sorted out. Expo takes some of the time off, but you’ll still have a hill to climb. That said, you’ll be glad you did it when you reach the top!
I recommend using the Expo documentation on App Store submission as the source of truth since things change often, but the process is roughly this:
Sign up for an Apple Developer account (this is $100/yr).
Install the “eas CLI”, the Expo Command Line Interface.
Use that CLI to “build” a production app
Use that CLI to submit the build to the App Store
Give Apple all the needed information in App Store Connect, including screenshots like the ones above.
It’s hard to get this done the first time, but each subsequent time is faster since you don’t have to do as much setup. If you’re having problems with your App Store Submission, talk to Codex or any LLM! As long as you provide it with some context on what you’re doing (using Expo is a key detail), you’ll be able to overcome any issues that come up.
Keys to a Successful Build
How you use AI to build apps really depends on your goals. Much of my audience is software engineers, and they are very interested in quality and reliability.
Many of the techniques I've discussed focus on getting reliable results from these tools and validating their output, but there’s still a place for the less hands-on work I’ve shown you today.
We’re living in a time where anyone can make an app, even if you don’t have a lot of (or any) experience writing code. That means it’s now economically viable for you to build something, even if you’re the only user!
Here are some important tips to keep in mind as you build:
Use Plan Mode when you’re starting a new project or a big feature.
Use a high reasoning setting when you’re doing Plan Mode.
Vibe coding can get you a long way, but don’t be afraid to dig in and understand the code you’re producing.
Validate everything you build yourself to confirm it works as you expect.
What Will You Build With AI?
When AI tools for writing software first emerged, they were very focused on the professional software engineering space. As things have progressed, tools like Codex have made it easier for anyone to make their first app.
I encourage you to build your own portfolio of mini-apps—you can even add paywalls and start to earn money from them!
If you want to see more guides like this, we’d love to have you as a reader over at the AI-Augmented Engineer!

Thanks for having me in to share this!
Wow! I am defiantly saving this for later. How cool.