

How to Add a Table of Contents to Your Substack Articles (And Why You Should)
It has more benefits than you think!

This is the easiest way to level up your Substack articles overnight: add a table of contents.
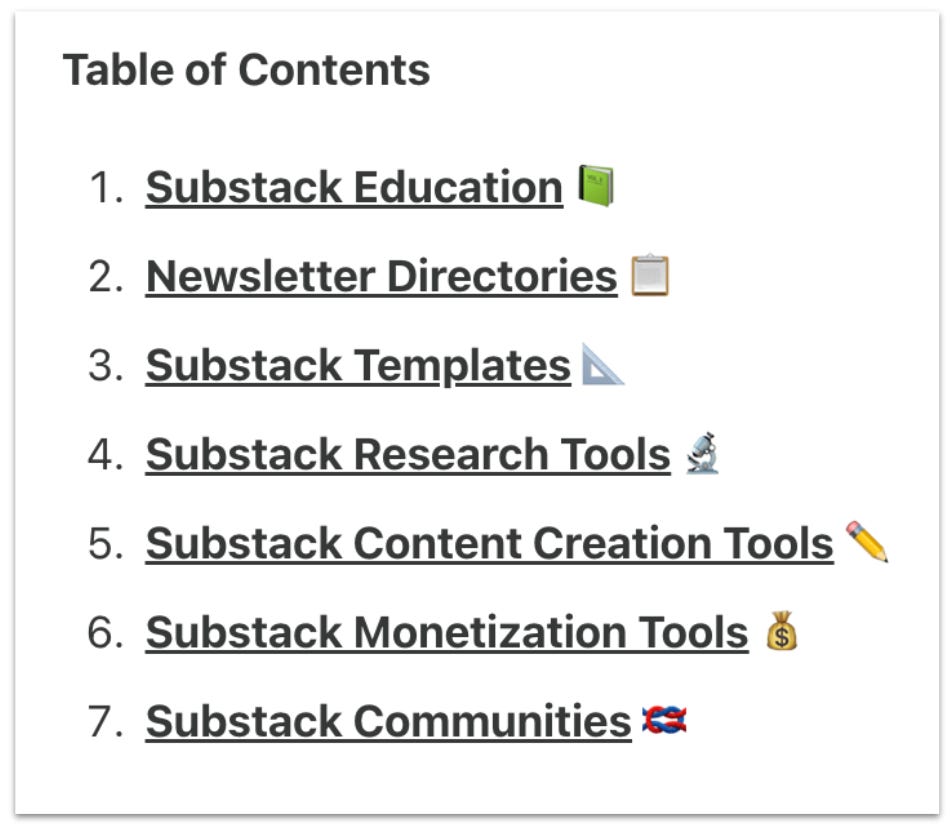
Table of Contents
4 Reasons Why Tables of Contents Are Awesome
A table of contents lists all the sections in your article near the beginning and includes hyperlinks that jump to each section.
Adding a table of contents to your articles has several benefits.
1. They help readers navigate your content

A table of contents lets readers see precisely how your article is structured and what it covers. Having this framework in mind will make your article easier to follow, and they’ll be able to find a specific section more easily (especially useful during rereads).
2. They help you write better.
You can only create a table of contents if you have headings delineating each article section. Incorporating tables of contents into your posts can be an excellent forcing function to make sure your content is well structured.
By the way, if you want to get better at structuring content, I highly recommend Barbara Minto’s book, Pyramid Principle.

3. They help readers preview what’s behind the paywall.
Most readers don’t become paid subscribers instantly after visiting your publication. Over time, they will be exposed to your content and decide to upgrade their subscription to access paywalled content (or other benefits).
But if they don’t know what they’re missing, they’ll have no reason to upgrade.
A table of contents is an easy way to show readers what’s behind the paywall so they can get an idea of what they’re missing out on and decide if they want to upgrade their subscription for access.
4. They help you appear at the top of more search results.
Many search results in Google provide a “zero-click” result at the top of the page. These are blocks of content designed to answer the searcher’s question directly on Google, without them needing to click on any websites.
One of the most common zero-click results is AI Overviews, which provide an AI written answer to the query, citing sources from the Google search results.
Many searches with AI Overviews end with zero clicks and no traffic for anyone besides Google. But when searchers want to know more, they’ll click on the cited links to go deeper. Ideally, your content will be cited for the terms you wish to rank for.

Believe it or not, AI is just like us in finding scannable, structured content easier to digest.12 A table of contents provides a framework for your content and makes it easier for Google’s AI to understand (so it can be used in AI Overviews).

When to Use a Table of Contents
Of course, not all content needs a table of contents, so how do you know when to add one? I add a table of contents to my articles when they match any of the following criteria:
The article is very long. A table of contents will provide readers (and Google’s AI) with a map for the journey.
The article has a lot of sections. A table of contents will keep things organized so readers (and Google’s AI) don’t get confused.
The article has a paywall. The table of contents will preview what’s behind the paywall, so free readers know what they will get if they decide to upgrade their subscription.
How to Create a Table of Contents in Substack
While many content management systems have built-in features or apps for making tables of contents, Substack does not.
But that’s ok because it’s pretty easy to make one manually using the provided in-content heading links.
Each Heading 2 or Heading 3 in your article can be linked to a table of contents.

Step 1: Finish Your Article
Adding your table of contents should be the last thing you do. When you change the title of a heading, the link to that section of your article will change too, so it’s best to wait until you've finished editing to add your table of contents.
Step 2: Draft Your Table of Contents
Once you’re ready, you can add an outline of your table of contents near the top of your article. I like to do this after the hook for my article, but before the first heading 2.

To do this, write “Table of Contents” and copy and paste each heading 2 into a bullet. If your article also has heading 3’s, you can copy and paste those as subbullets.
Step 3: Add Your Section Jump Links (Three Methods)
Once your table of contents is fully outlined, you can use one of three methods to add hyperlinks that jump readers to each post section.
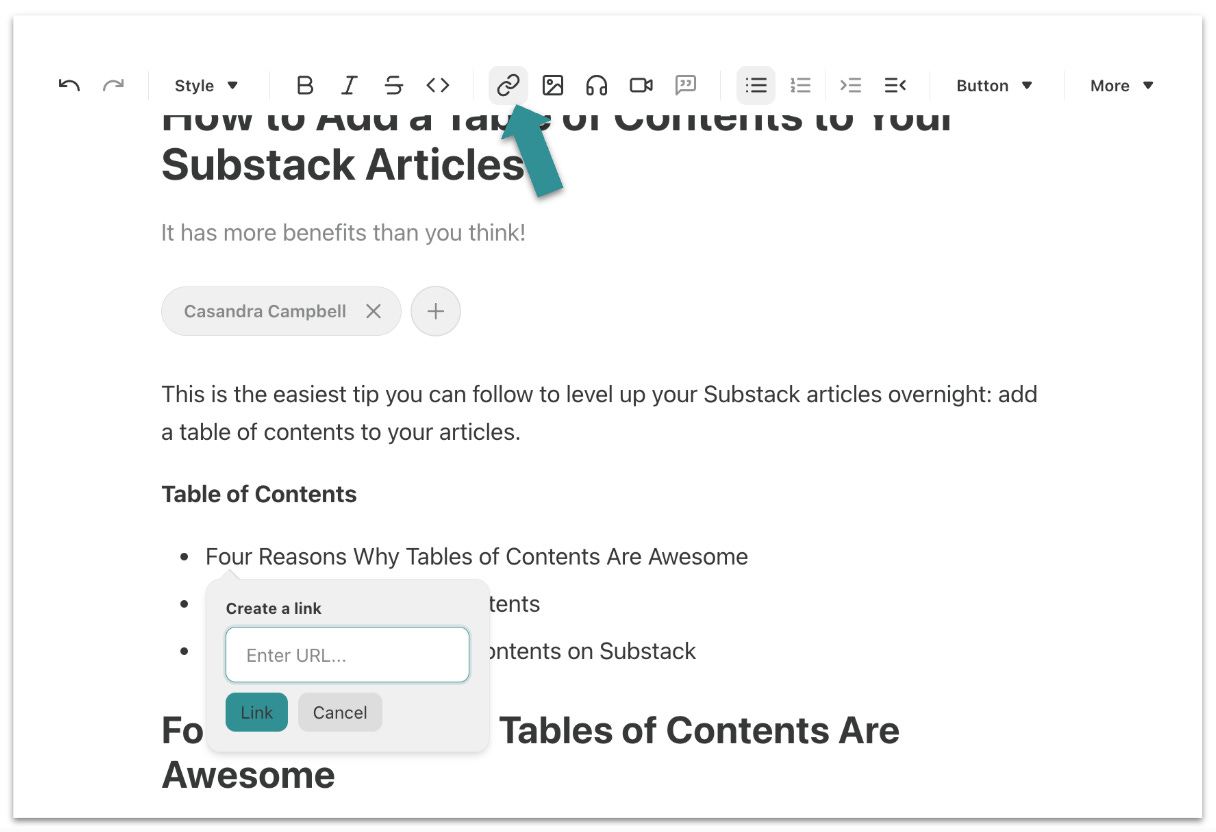
Method 1: Get Jump Links Using the Editor
For each section you want to link to, scroll down and highlight it with your cursor. While it’s still highlighted, move your cursor just to the left of the first letter, scroll to the top, and look for the hovering link icon.

This can be a bit finicky. If necessary, highlight the heading again to start over.
Once you see the link icon pop up, click on it to copy the jump link for that section. Then add it as a hyperlink to the relevant bullet in your table of contents the same way you would normally add a link.
Method 2: Create Jump Links Manually
Personally, I find it really annoying to keep scrolling around to get the link icon for each heading to appear in the editor.
Fortunately, the jump links all follow the same format, so we can also create them manually instead.
All the jump links follow this format, which I’ll explain.
yoursubstackpublicationdomain.com/i/post-id/subheading-titleIt breaks down into three parts:
1. Your domain URL. Copy and paste this from your browser to ensure you have the correct URL.

2. Your post ID. Copy and paste this from your browser while editing your post. It should be nine numbers.

3. Your subheading title. You’ll need your exact subheading title with a dash between each word.

Once you have each part, put it all together in the correct format to create your jump link and add it as hyperlink in your table of contents.
https://www.reallygoodbusinessideas.com/i/157806445/how-to-create-a-table-of-contents-in-substackYou won’t be able to test the link until your post is live, so make sure to triple check that everything is correct if you use this method.
Method 3: Creating a Table of Contents After Your Post Is Live
If you’ve already published an article and decide to add a table of contents later, you can still do so easily!
Hover over the heading on your published article, and the jump link icon will immediately pop up next to the heading. Copy it and then edit your post to add it as a hyperlink in your table of contents.

Tables of contents are a quick win for Substack writers. They improve reader navigation, clarify content structure, preview paywalled sections, and can even boost search visibility.
I frequently write about what I’m doing to grow my business on Substack. If you’re a Substack author looking to grow your own publication on Substack, be sure to subscribe and say hello!
To endless possibilities,
Casandra

Great tip! I knew the 'how' (the 'old school' html way, at least), but you really claried the 'why' from a Substack perspective. Thanks!
Underrated feature. A table of contents signals structure, respect for readers’ time, and makes long-form content feel easier to digest. Simple upgrade, big payoff.